Need help with your order? Call +44 0117 233 8966 or email office@hunteroperations.co.uk
- Shop All Shop All
- Name Badges Name Badges
- Lanyards
- Wristbands
- Seed Products
- Eco-Friendly
- News
- About Us
Follow this guide to merge a spreadsheet of attendee names, titles, organisations onto a template with your artwork to quickly create hundreds of badges in seconds.
Ensure you have downloaded the correct template from the Templates section.
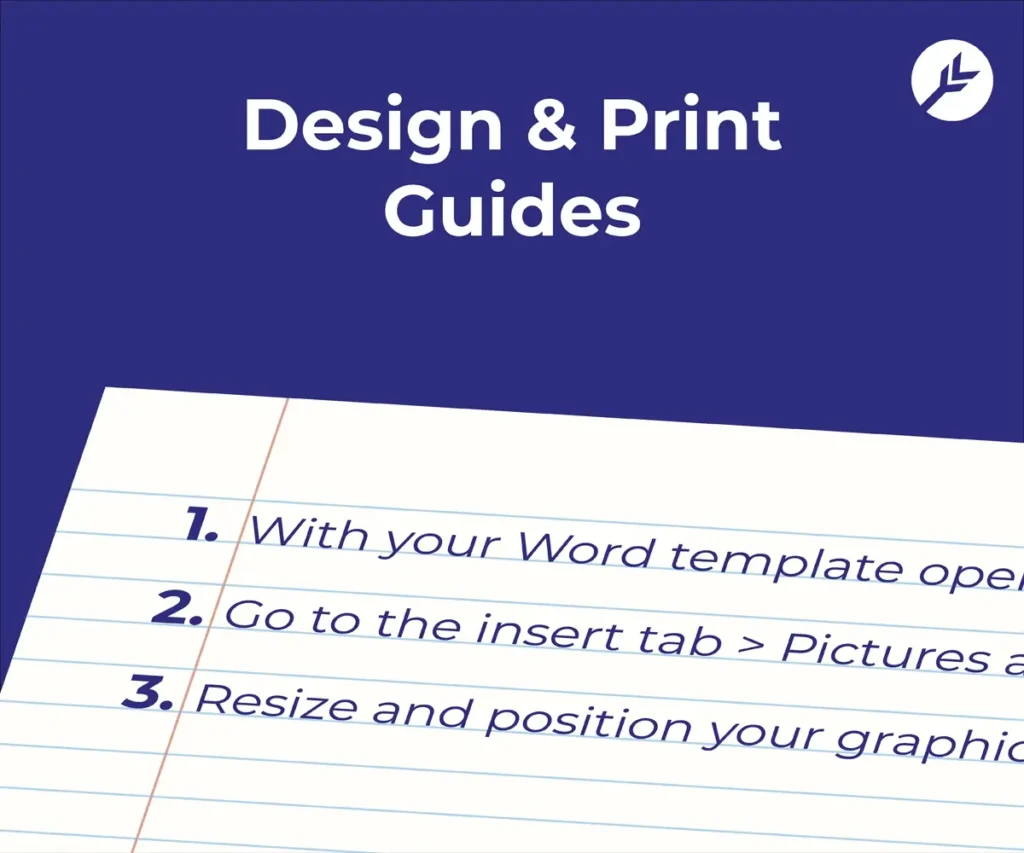
Set up your artwork using our MS Word Artwork Instructions.
Organise your data into columns in your Excel spreadsheet. If your data is in a Google sheet, download it as an Excel file.
With the template open, click “Mailings” in the top menu bar.
Click “Select Recipients” and from the dropdown menu chose “Use Existing List”, select your .xlsx spreadsheet.
Select your spreadsheet of data then in the pop-up, ensure the “First row of data contains headers” box is checked on. Then click “OK”.
Select “Insert Merge Field” to start inserting data fields.
a) Highlight “Your” then click the corresponding field.
b) Repeat for all merge fields.
For the remaining badges, highlight all the text on each badge and insert a “Next Record” rule.
To update the badges with the “Next Record” rule, click “Update Labels”
You can now preview your merged badges by clicking “Preview Results”. You can make any formatting changes required.
Select “Finish & Merge” > “Edit Individual Documents”.
You should now have a multi-page document with all your badges merged and ready to print! You can edit individual badges now too.
We use cookies to improve your experience on our site. By using our site, you consent to cookies.
Websites store cookies to enhance functionality and personalise your experience. You can manage your preferences, but blocking some cookies may impact site performance and services.
Essential cookies enable basic functions and are necessary for the proper function of the website.
CloudFlare provides web performance and security solutions, enhancing site speed and protecting against threats.
Service URL: developers.cloudflare.com (opens in a new window)
Google Tag Manager simplifies the management of marketing tags on your website without code changes.
WooCommerce is a customizable eCommerce platform for building online stores using WordPress.
Statistics cookies collect information anonymously. This information helps us understand how visitors use our website.
Google Analytics is a powerful tool that tracks and analyzes website traffic for informed marketing decisions.
Service URL: policies.google.com (opens in a new window)
SourceBuster is used by WooCommerce for order attribution based on user source.
Marketing cookies are used to follow visitors to websites. The intention is to show ads that are relevant and engaging to the individual user.
Google Ads is an online advertising platform that enables businesses to create targeted ads displayed on Google search results and partner sites.
Service URL: policies.google.com (opens in a new window)
You can find more information in our Cookie Policy and Privacy Policy.